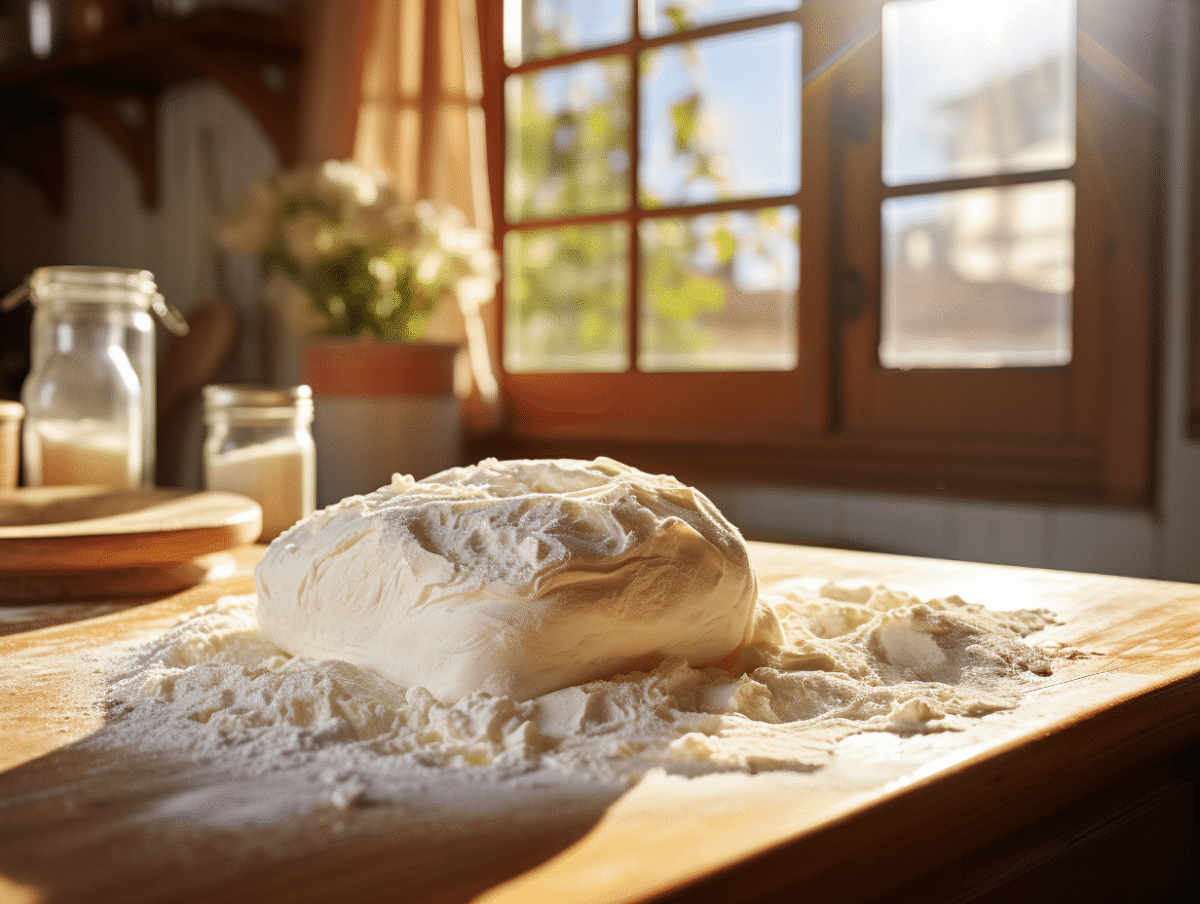
In the world of artisanal baking and pastry enthusiasts, the freshness of ingredients is an essential pillar to ensure impeccable results. Fresh baker’s yeast plays a crucial role in the making of breads and pastries. It is often sold in cubes and can deteriorate quickly if not stored properly. To maintain its active properties and ability to leaven dough, there are effective freezing and thawing methods. These techniques ensure that the yeast remains alive and ready to use, even after several weeks of storage.
The best practices for freezing fresh baker’s yeast
Fresh baker’s yeast is a key ingredient in the preparation of bread dough, pizzas, tarts, cakes, and other pastries. As a living food, composed of fungi and microorganisms, its role is essential in the fermentation of sugars in bread. To answer the question of how to store fresh baker’s yeast by freezing it, it is necessary to adopt freezing methods that preserve its fermentative activity.
To start, make sure to divide the yeast into usable portions before freezing it. This will allow you to thaw only the amount needed for your recipe. Wrap each portion tightly using a suitable freezer bag. Air must be expelled from the bag to prevent the formation of ice crystals that could damage the yeast cells. Place the bags in the freezer, where the yeast can be stored for an average duration of three to six weeks, and up to a maximum of two months for optimal effectiveness.
Keep in mind that while storing fresh baker’s yeast in the freezer is recommended for a period of up to six months, it is best to limit this duration to ensure the quality and vigor of the yeast. Once frozen, the yeast can be easily stored and used for various preparations, thus extending its usability without sacrificing the quality of the final products.
Effective techniques for thawing baker’s yeast and preserving its activity
When it comes time to reuse fresh baker’s yeast, a controlled thawing is essential to maintain its fermentative capacity. Be sure to opt for a gradual approach, favoring the refrigerator as a transition place. Place the portion of yeast you plan to use in the refrigerator and let it rest there for 24 hours. This gentle method allows the yeast cells to reactivate safely, without undergoing the thermal shock that could result from a too-quick transition to room temperature.
Consider the temperature of the refrigerator, which should be constant to promote even thawing. Once the yeast is thawed, it is wise to acclimate it for a few more minutes at room temperature before incorporating it into your recipe. This additional precaution ensures an optimal environment for the yeast, allowing it to regain its vigor.
If you have expired fresh yeast, know that its viability can be tested. To do this, dissolve a small amount of yeast in warm water with a bit of sugar and wait for the activity to resume, visible by the appearance of bubbles. If this reaction occurs after 10 to 15 minutes, the yeast can still be used for fermentation. A loss of properties is possible and could affect the final result of your preparation.
It is therefore crucial to monitor the yeast after thawing to assess its activity. Yeast that produces few or no bubbles after the activation test is likely too weakened and should not be used. By following these guidelines, you will optimize the use of thawed yeast and ensure the quality of your bakery and pastry products.